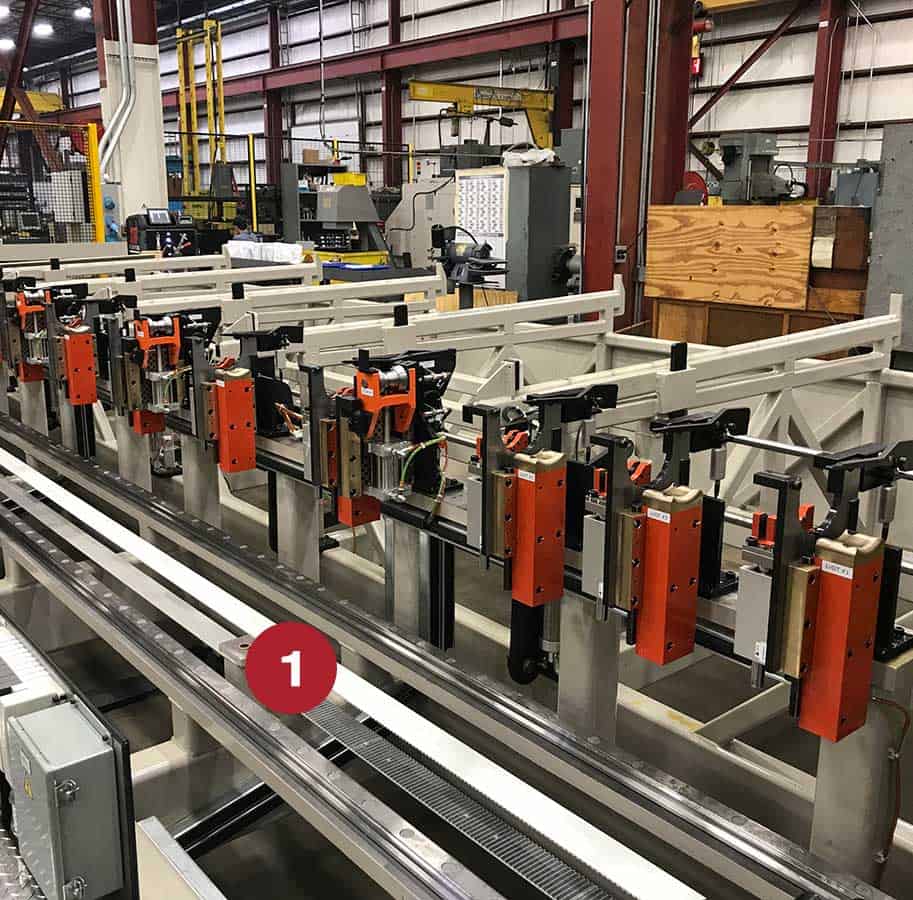
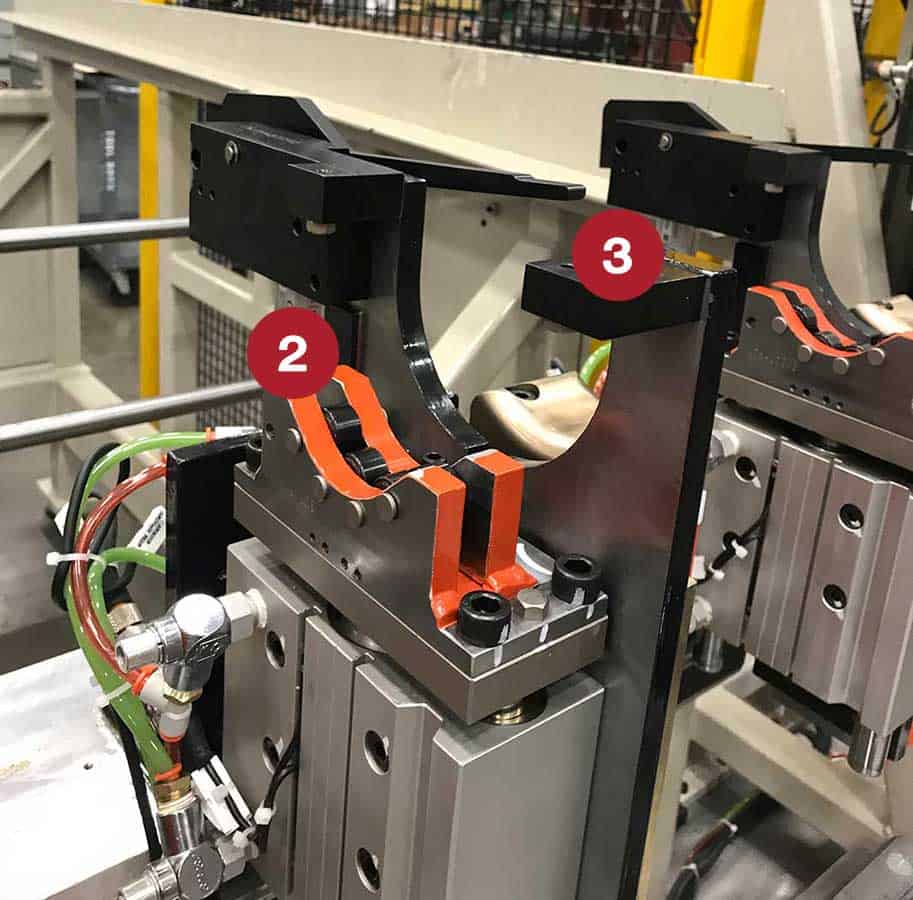
Many forged or turned workpieces and profile-type parts produced for precision applications are not totally straight, despite advanced manufacturing processes. This can create vibration during machining and grinding operations required to finish the workpiece, potentially damaging tooling and creating quality issues. Lincoln Electric Automation’s Coldwater, Ohio operation has developed a straightening system to address this situation.
Our fully automated, servo-controlled solution can effectively straighten larger diameter tube or bar stock, shafts, and profiles. These systems incorporate artificial intelligence that automatically adapts to variances in the stock material or component without requiring operator intervention.
In tube and bar applications, these straightening systems have helped to reduce cycle time by up to 60 – 80% as compared to other methodologies while achieving straightness over the entire bar/tube within 0.02″ tolerance.
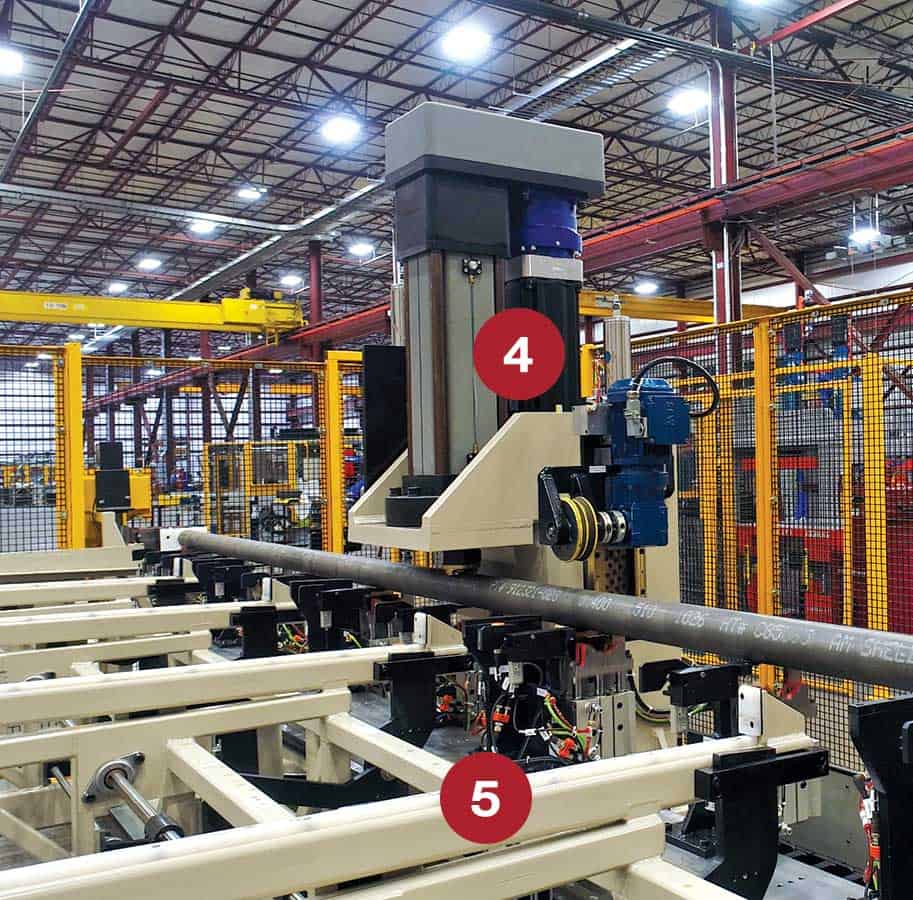
Bundles of bars/tubes/profiles or shafts are loaded onto an accumulation deck and then automatically fed to the straightening equipment. In the straightening process, the stock or component is rotated to measure the runout with sensors at multiple data points along its length. This data is sent to the PLC where it is compared to the straightness specification to determine where it needs to be corrected.
The PLC determines the initial point needing correction and the servo press is indexed along the workpiece by a servo rail to the indicated location where it then bends the stock/part to specification. The piece is then rotated again to collect the data points and determine if there are other points that need attention. This process continues until all the data points are found to be within specification. From there, the workpiece may be moved out of the machine, automatically or by an operator, to the next process.


